Initial Setup
Before you can begin using X-Source, there are a few things you need to do.
If you do not have them in your system already, you will need to set up Vendor Ordering records for AlphaBroder and SanMar.
All X-Source items will need to be linked to a Product Category in your Xebra system. To set these up, GO > Order Entry > View > Control Files > Product Category. The level of detail is up to you. You could set up a category that includes all wearables, such as WBL - Wearables or APP - Apparel, or you can set up codes for different types of wearables, such as SWS - Sweatshirts, LSS - Long Sleeve Shirts, SSS - Short Sleeve Shirts, etc.
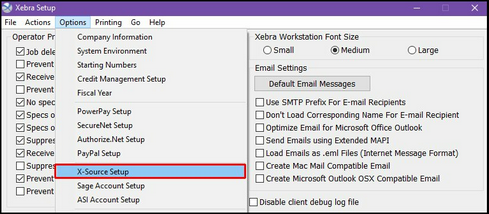
Once your Vendor Ordering and Product Category codes are set up, GO > Setup > Options > X-Source Setup.
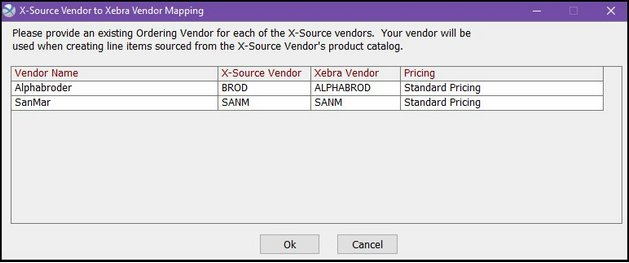
This will bring you to the X-Source Vendor to Xebra Vendor Mapping screen.
Double-click on Alphabroder, which will open the Link X-Source to Xebra Vendor screen. Enter your Vendor Ordering code for that vendor, and click OK.
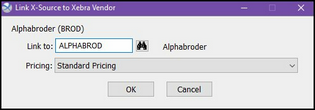
Double-click on SanMar, which will open the Link X-Source to Xebra Vendor screen. Enter your Vendor Ordering code for that vendor, and click OK.
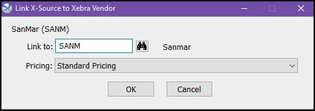
Click OK on the Vendor Mapping screen to save your setup and exit the screen.
Using X-Source Database
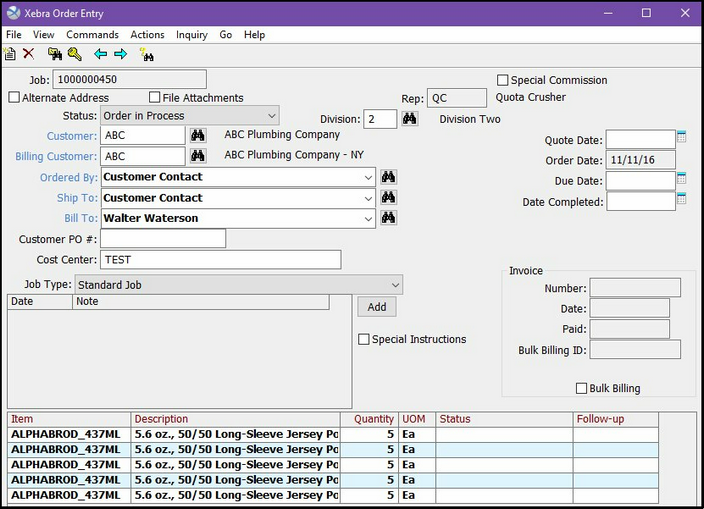
The X-Source Database can be reached in three different ways during the Order Entry process: from the Order Entry screen, from the Line Item screen within a job, and when creating a new job or quote. Regardless of the starting point, when you want to add a line item, you will see this screen:
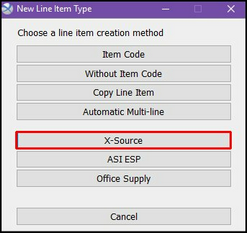
Click on X-Source.
When this option is selected, the X-Source Style Group Search window opens:

Enter what you are looking for in the Search field. The search window also has several optional search fields to help you find the product information you need, such as Vendor, Category, and Mill. When you are done selecting your search parameters, click on the Search button.
The search results will appear in the bottom portion of the screen:
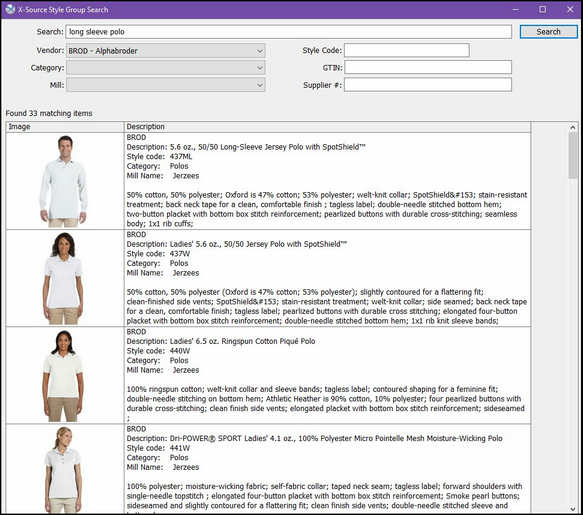
Double-click on the product you wish to add as a line item, and this will take you to the Ordering Grid screen.
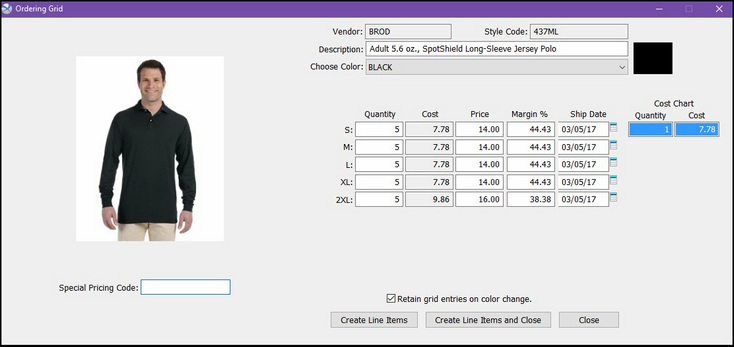
Select a color. A drop-down list will show the available colors for the selected Style Group. Only the colors available for that style will be shown. The style picture to the left will also reflect the selected color provided that picture is available.
When a color is selected, the available size options will appear.
Enter the desired quantity and selling price for each size. You can also enter the margin you would like to achieve, and the price will be calculated for you. Notice than once you tab away from the field after populating the price or margin, all other lines will automatically pre-populate with the same price you selected for the first line. You can go back in to change some of the price fields if you want different prices on some sizes.
The correct cost information will be provided automatically by Xebra. The pricing is obtained directly from special sites maintained by the vendors. There may be a lag of a few hours between the time that special prices start or end on the vendors’ public websites and the time those changes appear in Xebra. Therefore, Xebra cannot guarantee pricing.
The description field can also be edited to suit your requirements. Any changes made on the Ordering Grid window will appear on all line items. The color and size will automatically be appended to all line items created.
Enter a Special Pricing Code, if you have one for this vendor.
Once quantities and prices are entered, click the Create Line Items or the Create Line Items and Close button. By clicking the Create Line Items button, you will be returned to the Ordering Grid so that you can order other colors of the same item without having to go through the search process again. You can also click on the Retain grid entries on color change checkbox if you will be ordering the same quantities for a different color or if you want to retain the prices you entered. If you do not need to order more of this item, then click on Create Line Items and Close, and you will be taken to the Line Item screen on the job.
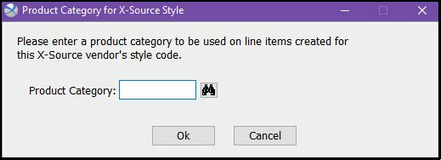
Enter the Product Category you would like linked to this item, and click OK.
You will either be returned to the Ordering Grid or to the Line Item screen of the job, depending on which button you selected previously.
When you return to the Order Entry screen, you will see the items you selected as Line Items on the job.
