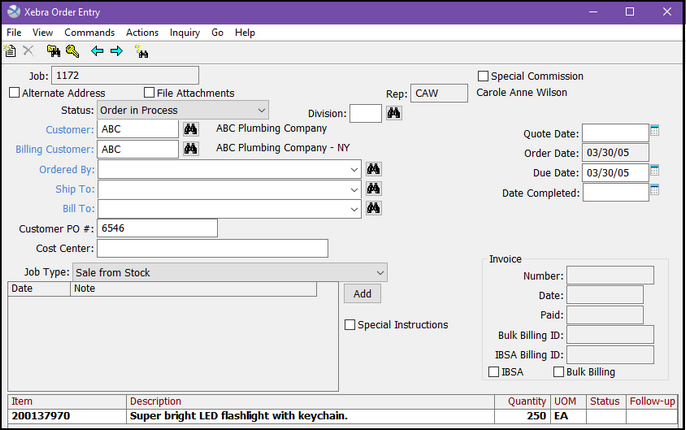
Initial Setup
Whether you are an existing ASI subscriber, or if you have just set up an account, you will need to enable the ASI Integration function.
GO > Setup > Options > ASI Account Setup
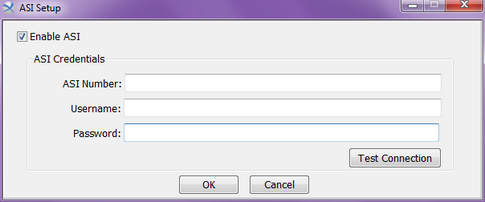
Click on the Enable ASI checkbox, and enter your ASI Credentials. Make sure you click on the Test Connection button to ensure the information is entered correctly.
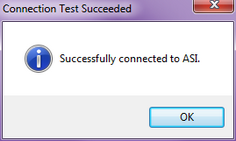
Click OK, and then click OK on the ASI Setup screen.
All ASI items will need to be linked to a Product Category in your Xebra system. To set these up, GO > Order Entry > View > Control Files > Product Category. The level of detail is up to you. You could set up a category that includes all wearables, such as WBL - Wearables or APP - Apparel, or you can set up codes for different types of wearables, such as SWS - Sweatshirts, LSS - Long Sleeve Shirts, SSS - Short Sleeve Shirts, PP - Promotional Products, WRI - Writing Instruments, etc.
You are now ready to begin using the ASI Integration features.
Using the ASI Database
The ASI database can be reached in three different ways during the Order Entry process: from the Order Entry screen, from the Line Item screen within a job, and when creating a new job or quote. Regardless of the starting point, when you want to add a line item, you will see this screen:
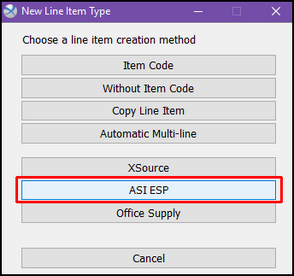
Click on ASI ESP.
When this option is selected, the ASI Database Item Search window opens:
For this example, we will enter “key chains” in the Quick search field, and click on the Search button.
You will be able to see the progress as Xebra makes contact with the ASI server, downloads the results, and compiles the list. Depending on how many matches are found, this process may take approximately 5 to 10 seconds.
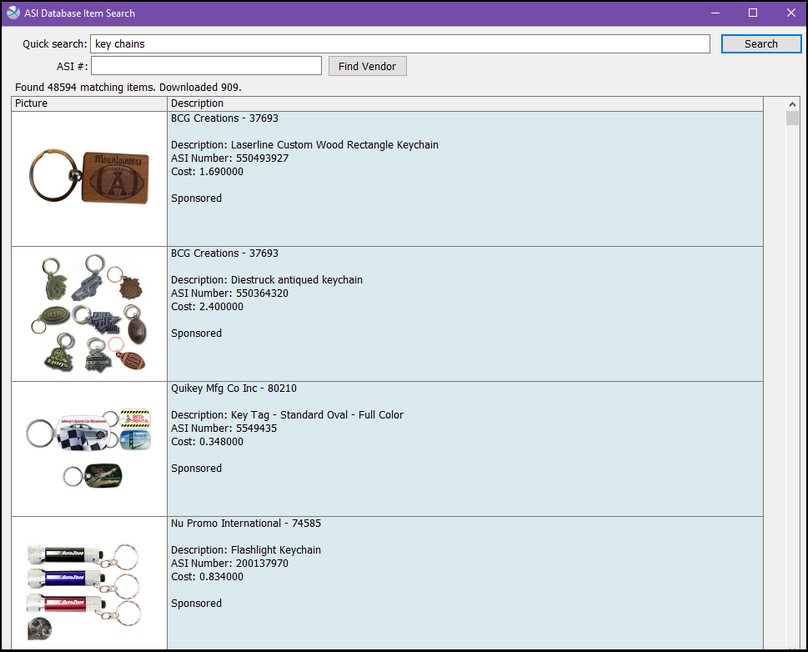
Double-click on the product you wish to add as a line item, and this will take you to the ASI Item Details screen.
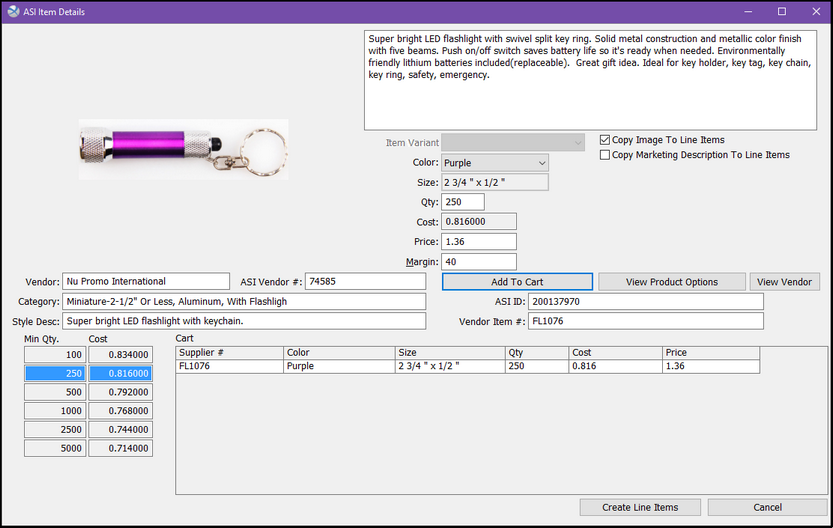
Select the options (color, size, etc.) that are available for your item. Only the colors offered for that style will be shown. The style picture to the left will also reflect the selected color provided that picture is available.
Enter the desired quantity and selling price. You can also enter the margin you would like to achieve, and the price will be calculated for you.
The correct cost information will be provided automatically by Xebra. The pricing is obtained directly from special sites maintained by the vendors. There may be a lag of a few hours between the time that special prices start or end on the vendors’ public websites and the time those changes appear in Xebra. Therefore, Xebra cannot guarantee pricing.
The description field can also be edited to suit your requirements.
To the right of the Variant information are 2 checkboxes. If you would like the image that appears on the screen to be included on the line item, click on the 'Copy Image To Line Items' checkbox. If you would like the information that appears above the Variant information to go in the Long Description section of the line item, click on the 'Copy Marketing Description To Line Items' checkbox.
Once you are done, click the Add To Cart button. You will remain on the ASI Item Details screen, giving you the opportunity to change the Item Variants to order more of the same product in other colors, for example. When you are done adding to your cart, click on the Create Line Items button.
Every ASI vendor used needs to be linked to a Vendor Ordering code in your Xebra system. After you click on Create Line Items, you will be asked to create a link if one does not exist already.
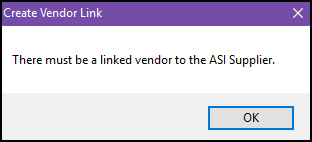
Click OK, and this will bring you to the ASI Supplier Information screen.

Click on the Create button.
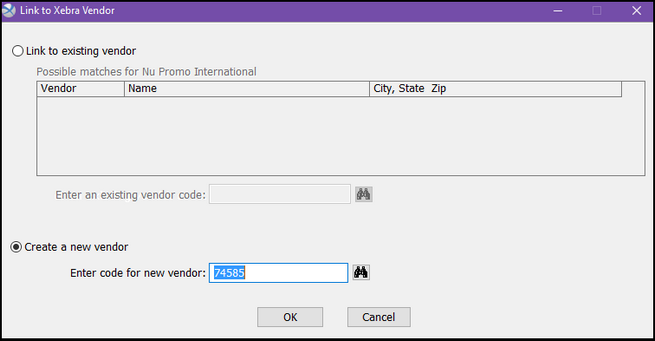
Either Link to an existing vendor in your system or Create a new vendor. If you choose to create a new vendor code, the field will automatically fill in with the vendor's ASI number. You can change this if you wish. Click OK.
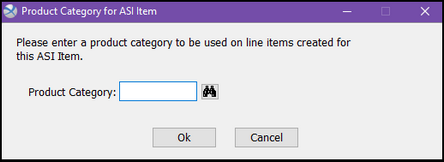
Enter the Product Category you would like linked to this item, and click OK.
You will be returned to the ASI Database Item Search screen. If you are done searching for items, close this window, and you will be taken to the Line Item screen on the job.
When you return to the Order Entry screen, you will see the items you selected as Line Items on the job.
