Sometimes, you might want to send your customer more than just a statement document. They might ask to see copies of invoices or even a transaction history report that shows recent invoices and how previous payments have been applied. Xebra Collections provides an easy way to send such emails.
From the Customer Collections window, Actions > Send Email

...opens the Send Collection Email window.
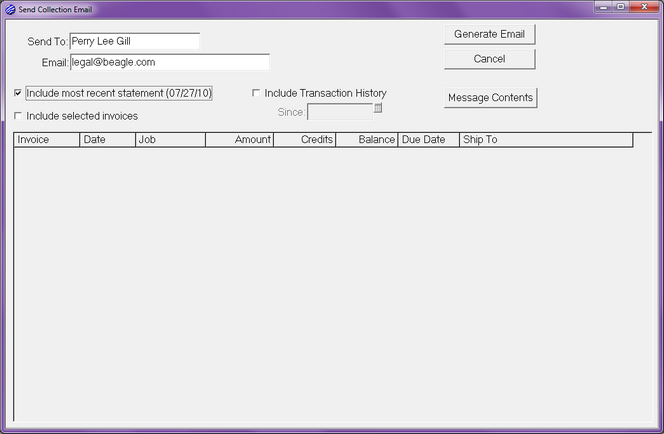
The Send To contact name and the Email address default from the data on the customer billing record.
If you have generated a statement for the customer through Xebra Collections, Include most recent statement will be checked by default and it will show the date of the most recent statement that would be included in the email. If you didn't want to send a statement with this email, you could uncheck this box.
If you want to include copies of invoice documents in the email, check the Include selected invoices checkbox. A list of all open invoices for the customer will display. You need to highlight the invoices in the list that you want to include in the email. Click one invoice if you only want to include one in the email. To select multiple invoices you can hold the CTRL key on your keyboard and click each invoice that you want to include individually so that all the invoices you click become highlighted. If you want to select multiple invoices that appear in order in the list, you can click on the first invoice that you want to select, hold the SHIFT key on your keyboard, and then click the last invoice that you want to include. This should highlight all of the invoices between the two clicks.
If you want to include a transaction history report with the email, check the Include Transaction History checkbox. The Since date is a parameter for the transaction history report that allows you to limit the transactions that will be displayed to only those that occurred after a certain date. The Since date defaults to the first day of the previous month. The date that you choose for the Since date depends heavily on the amount of activity that you have with your customer, so you will probably almost always want to change the Since date to reflect what your customer wants to see. You could blank out the Since date so that all transactions will show on the transaction history report, but for some customers this could make for an extremely long report.
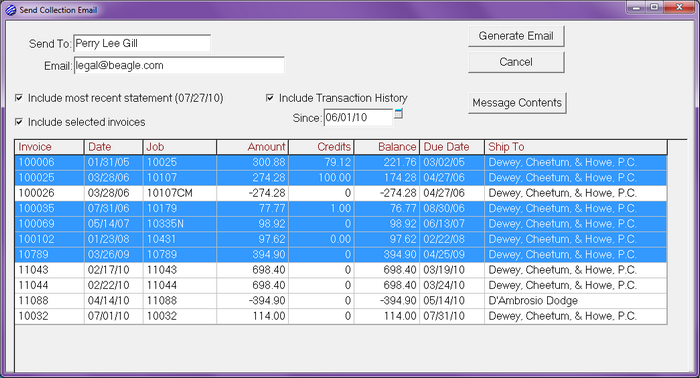
The following image shows the Send Collection Email dialog setup to include the most recent statement, copies of all past due invoices, and a Transaction History report showing all transactions since the first of the year.
Another feature of the Send Collection Email window is the option to set the default email subject and text. Click the Message Contents button to open the Default Collection Email Message dialog.
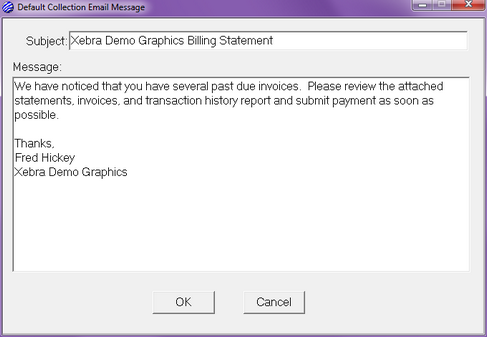
The Subject and Message that you enter in this window will be the default for future emails. You can change the default on this Window at any time. You can also modify the subject and text of an email after you generate the email in your computer's default email editor.
To generate the email, click the Generate Email button on the Send Collection Email window. The image below shows an email as it would appear in Windows Vista Mail.
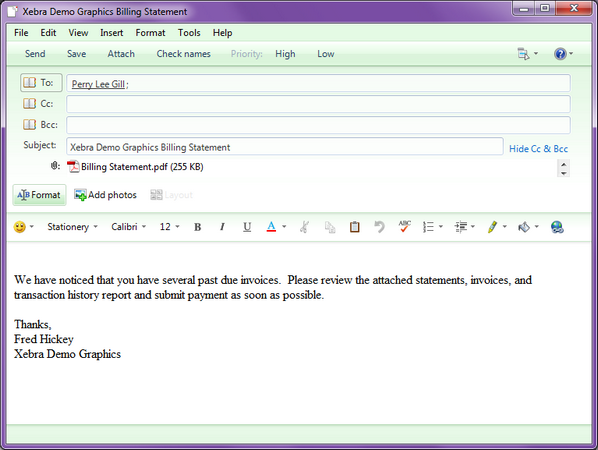
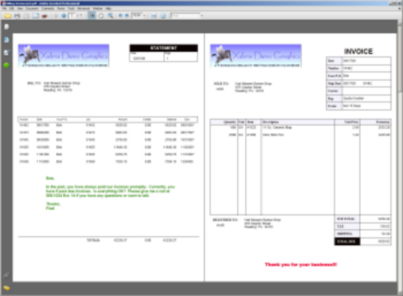
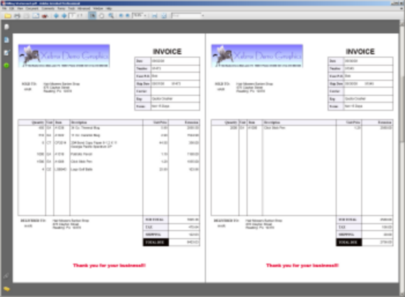
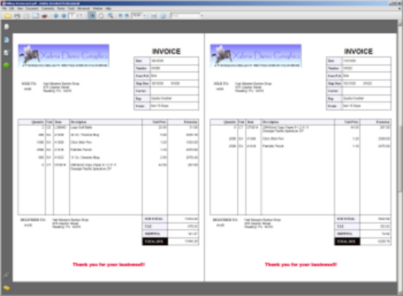
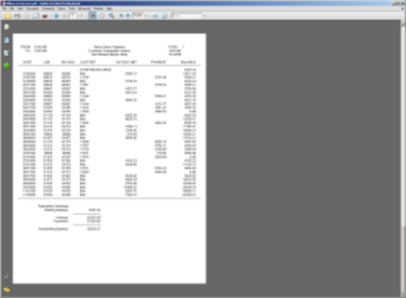
Notice that although we selected to include a statement, 5 invoices, and a transaction history report, there is only one PDF attachment. This is because all of the supporting documents are merged into one PDF file and attached to the email. In the PDF file attachment for this example, the Statement starts on the first page, the invoices are on pages 2-6, and the Transaction History report appears on the last page.
When you return to collections after sending the email, the Add Collection History Note window will display.
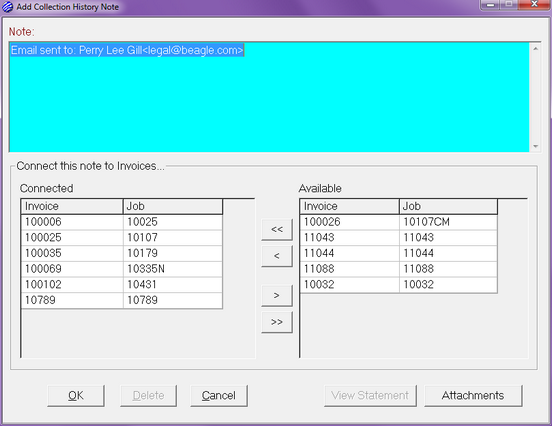
The text "Email sent to:" followed by the contact name and email address is the default note text. You can replace or add to this text to make it more descriptive.
Notice that in the Connect this note to Invoices... section, the 5 invoices that were included in the email are listed in the Connected list and the single open invoice that wasn't included is in the Available list. By default, the collections note from the Send Email feature only connects invoices that were included as documents in the email. If you want to include the other invoice that wasn't emailed but did appear on the statement that was emailed, you could double-click on that invoice in the Available list and move it to the Connected list.
Once you save the note and return to the Customer Collections window, the note will appear in the history list.

The asterisk * indicates that something is attached to this note and in this case, it is the PDF that was attached to the email. If you double-click the note to re-open the Add Collection History Note window, you will see that the Attachments button is enabled and it will have a (1) next to it meaning that there is one file attachment.
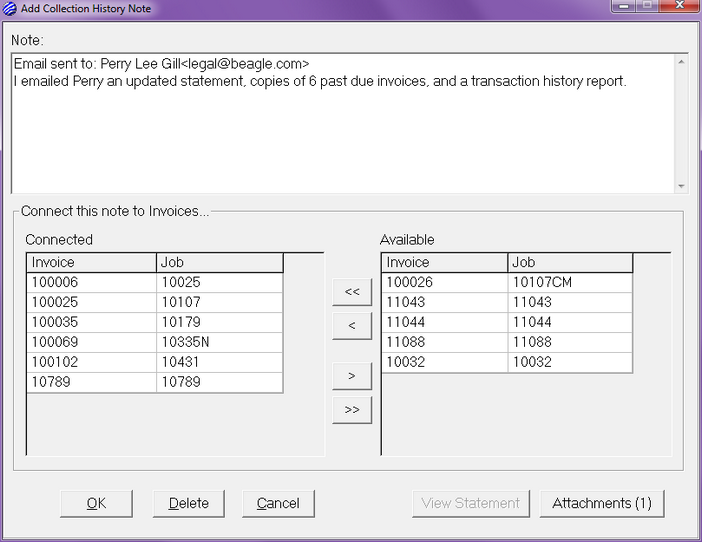
If you click the Attachments button, you can view the attachment, save it to a location on your computer, or delete the attachment just as you would with file attachments in other parts of Xebra software.