You are now ready to start creating jobs for this customer. There is nothing different about the way these jobs are processed. You will still receive vendor invoices against each individual job, and you will invoice each individual job.
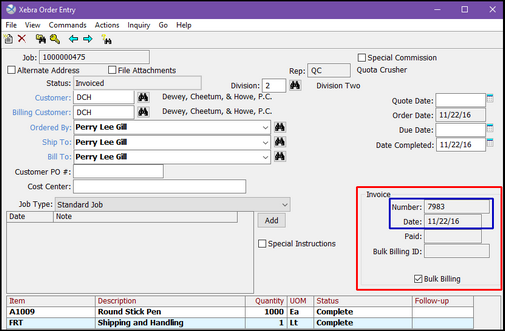
Here are 4 jobs that have been created for Customer #DCH, who prefers to be billed monthly for all jobs. Notice that the only thing different on these jobs is the Bulk Billing checkbox on the lower right-hand side of each screen. This checkbox is automatically activated each time you create a job for a customer that has been flagged for bulk billing on their Customer Shipping or Customer Billing record.
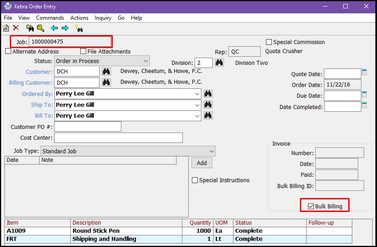

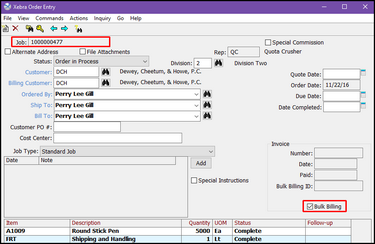
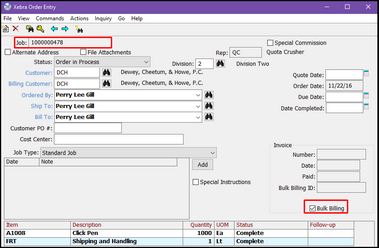
At this point, we have received the vendor invoices and invoiced the 4 jobs shown above (without sending it to the customer). The job status is now "Invoiced", and the invoice number and date appear in the Invoice section of the screen.
We are now ready to create a Bulk Billing report for our customer.
Go > Accounting > Receivables > Bulk Billing > Commands > Generate new bills
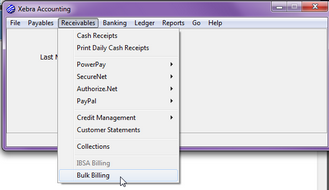

NOTE: If at any time you would like to view past Bulk Bills, you can double-click on it to view the details. There are 4 ways to dictate which bulk bills you would like to see on your screen:
Unsent bulk bills - select this checkbox if you would only like to see unsent bulk bills.
Unpaid bulk bills - select this checkbox if you would only like to see unpaid bulk bills.
Unsent bulk bills and Unpaid bulk bills - select both checkboxes if you would like to see both unsent and unpaid bulk bills.
Neither - leave both checkboxes unchecked if you would like to see ALL bulk bills that have been created.
We want all of February's invoiced jobs for DCH to appear. Enter your date range and Master Customer code.
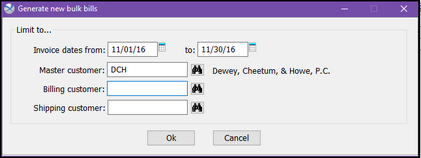
Click OK.
In the example below, because we have checked the "Unpaid bulk bills" checkbox, you will see both existing bulk bills that have not been paid and the one we just created.
Double-click on Bulk ID 104.

This will open the Bulk Bill Details screen. A list of the invoices that met our bulk bill parameters will be listed in the bottom portion of the screen. Before you click on the Generate Document button, you should review the list. If you would like to take a look at any of the jobs, you do not need to exit out of here. Simply double-click on a job, and a separate Order Entry window will open with the job loaded on the screen. Close that screen when you are done to return to the Bulk Bill Details screen. If you need to remove any of the jobs from the Bulk Bill, single-click on the job, and hit the Delete key on your keyboard.

Enter a description in the Description field (up to 40 characters long). Click on the Generate Document button.

The report has now been generated. It shows the customer a breakdown of each job, and it provides a grand total.
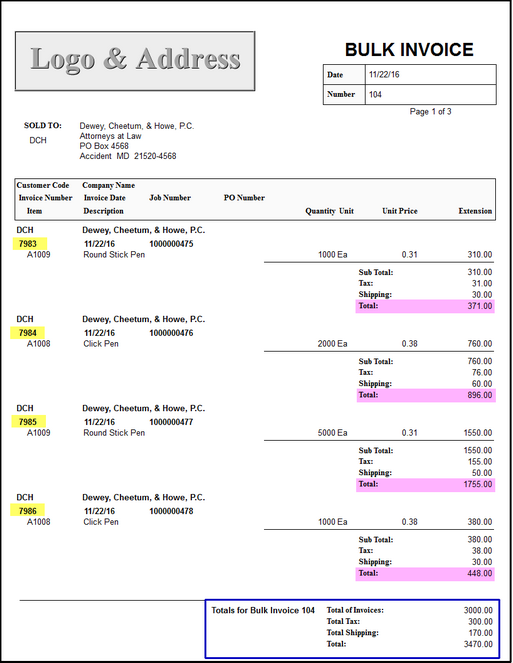
You can print or email the report now, or you can close the window and come back to it later.
Close the Print Preview screen, and this will bring you back to the Bulk Bill Details screen. The Sent field has been filled in with today's date, which prevents the Associated Invoices from showing up on any other bulk bills.

If you did not print or email the report from the Print Preview screen, simply delete the date in the Sent field until you are ready to send it out. Once you delete that date, the Delete button will be turned back on. If you find that there are additional jobs you would like to include in the report, click on the Delete button, invoice those jobs, and re-run the Bulk Bill.

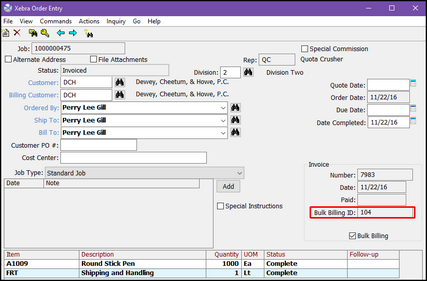
Below is a screen shot of a job that was included in the report. Notice that the Bulk Billing ID number now appears when you load the job in Order Entry.
