Once you have created or reviewed the customer and item files you will be using for your new site, you are ready to enter the E-Commerce module. Go > E-Commerce.
Creating/Accessing a Master Customer Profile
| • | From the main E-Commerce dialog, Actions > Customer Setup |
| • | Enter the Master Customer Code in the Master Customer field and Tab forward. |
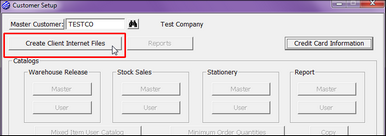
| • | If you are creating a new site, you will see the Create Client Internet Files button directly below the Master Customer field. Click this button. |
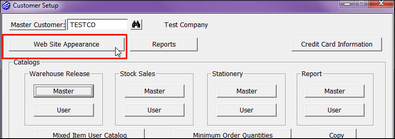
| • | Momentarily, the button will change to Website Appearance. You have now created the background files needed to connect the master customer to your E-Commerce files that you will now manage through this dialog. |