The second option is to use Data Export. This program lets you be more specific about the information you want to export.
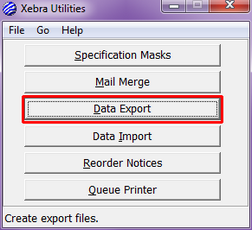
GO > Utilities > Data Export
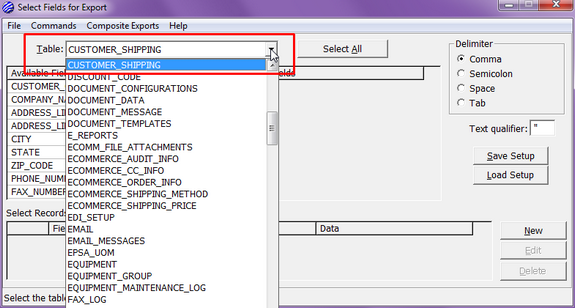
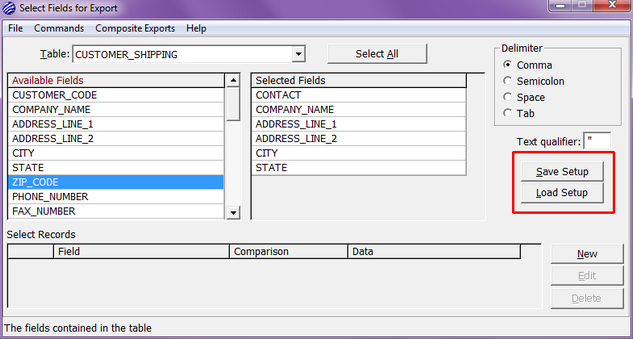
Select the Table you would like to export from (Customer Shipping, Customer Billing, Vendor Remittance, etc.)
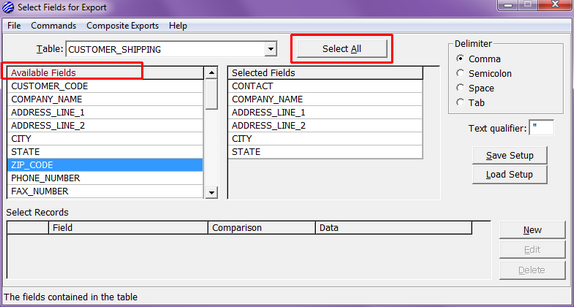
Select the fields you would like to display from the Available Fields list by double-clicking on them. You will see them appear in the Selected Fields list. You can also click on the Select All button if you want to use all of them.
Click on the Commands menu, and click on Export Data.

The next window will show a list of Shipping Customers, Billing Customers, etc. (whichever Table you selected to export) that will be exported along with the associated fields you selected. If there are any records in the list you do not want to export, double-click on them, and they will be removed.
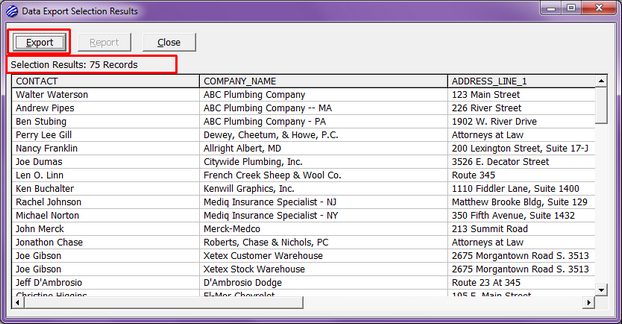
Click on the Export button, and save the document to your Desktop so it is easy to remember where you saved it.
Depending on which program you use to create your mail merge (Word, Access, etc.), you will either need to import or open the .txt file using the desired program.
Now you can create your mail merge the same way you normally would within that program.
It is your responsibility to learn how to use the program that will receive the export.
Please don’t ask XETEX to walk you through the mail merge on your word processing program.
If the Export you just created is something you would like to run periodically, rather than having to remember which Table and which Fields you selected, you can click on the Save Setup button on the right-hand side of the screen.
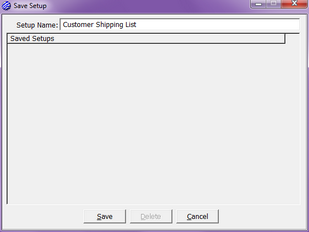
Enter a name for the setup. Click Save.
Exit from Data Export to the main Utilities menu. Click on Data Export. Click on the Load Setup button.
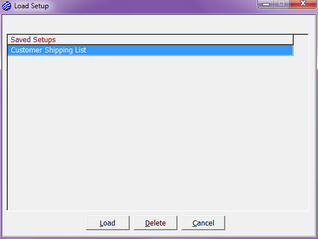
Either double-click on the setup that appears in the Saved Setups list, or you can click on it once so it is highlighted, and then click the Load button. This will return you to the main Data Export screen with all of your Table and Field information filled in and ready to export.