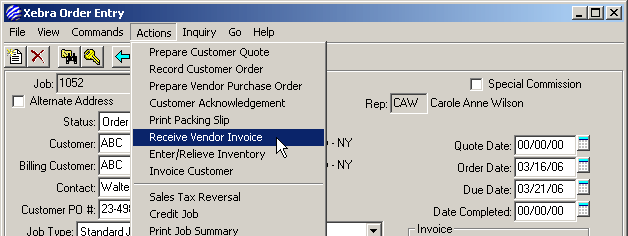
When a supplier sends an invoice for something that you purchased for a job, the best way to record the vendor's invoice in Xebra is to load the job into the Order Entry window and choose Receive Vendor Invoice from the Actions menu.
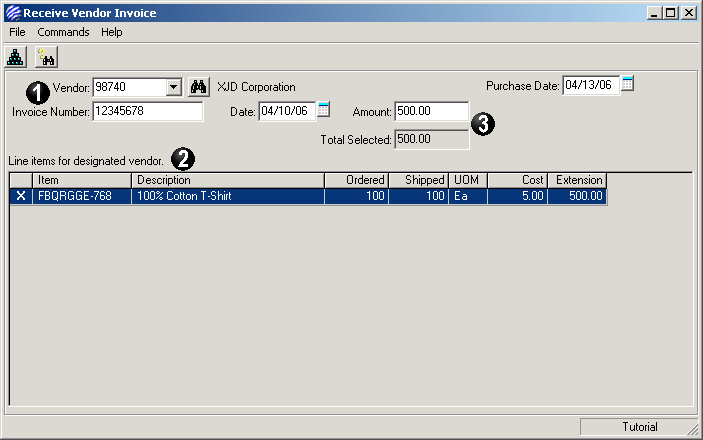
The Receive Vendor Invoice window is used to record the information from the vendor's invoice on the line items of the job and create an accounts payable record.
The first step is to select the vendor and record the Invoice Number, Invoice Date, and Total Invoice Amount as they appear on the vendor's invoice.
When you select the vendor, the list of items for that vendor on the job is displayed. This list is used to
select which items appear on the invoice and to record shipped quantities, costs, and shipped dates among other things.
The Total Selected field is the total amount based on the shipped quantities and costs on the selected line items. The Amount, entered directly from the total on the Vendor's invoice, is compared to the Total Selected amount. If they don't match and you try to process the invoice to create an AP Record, you will get a warning asking if you need to make any adjustments before proceeding.
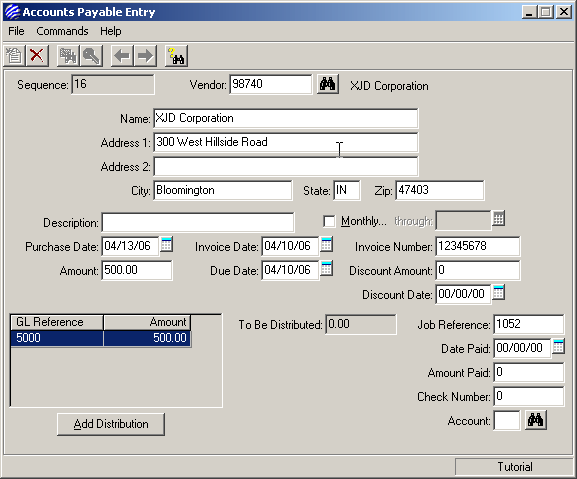
Once you finish processing the vendor's invoice, you can optionally view the AP record that is generated.
The Accounts Payable Entry window can be used to generate AP records manually, without the benefit of the Receive Vendor Invoice action, as well as to review and modify existing entries.