Once you have your Authorize.Net merchant account, you need to configure Xebra with this information.
NOTE: System administrator operator privileges are required to perform the following steps.
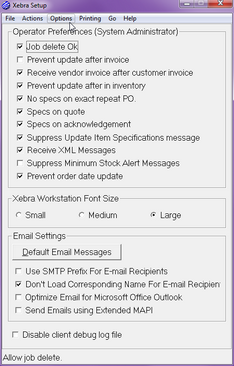
In the Xebra Client, go to the Xebra Setup window (Go > Setup).

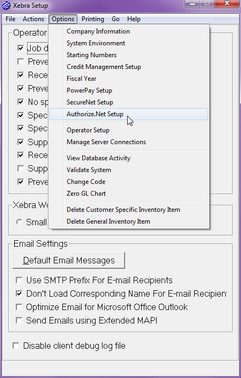
Choose Options > Authorize.Net Setup from the menu.

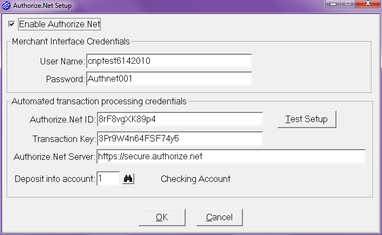
Below is the Authorize.Net Setup window.

In order to process credit cards in Xebra, you need to check the Enable Authorize.Net checkbox. The values for the following fields on this window should be supplied to you by Authorize.Net:
| • | User Name |
| • | Password |
| • | Authorize.Net ID |
| • | Transaction Key |
The Authorize.Net Server address should be https://secure.authorize.net unless Authorize.Net tells you otherwise.
The Deposit Account must point to a Xebra banking account that will receive the money when credit cards are processed. This needs to be the same banking account that you supply to Authorize.Net when you set up your merchant account with them. You must be sure that the Xebra banking account is linked to a valid general ledger detail account.
Once you enter your setup information, you can do a test transaction by pressing the Test Setup button. This button will post an authorize only transaction in test mode to a test credit card number for the amount of 0.01. If the transaction posts successfully, you will see a message that indicates that the test was successful. If the transaction does not go through, you should see a message box that indicates the problem.